Installing Table of Contents Pro
One script tag, pasted once. Your sticky sidebar TOC will be live in under a minute.
Before You Start
After purchase, you'll receive an email containing a short <script> snippet. Have that email open — you'll copy the snippet into Squarespace.
- Squarespace 7.1 — not compatible with version 7.0 or older
- Business plan or higher — Code Injection requires at least the Business (Core) plan
- Blog post pages — the TOC is designed for blog posts, not regular pages
Copy the snippet from your email
Open the purchase confirmation email. You'll see a <script> tag that looks like this:
<script
  src="https://www.thebigfishseo.com/toc-pro/v2/widget.js"
  data-key="toc_a7f3bc91"
  data-config='{
    "style": "minimal",
    "title": "Table of Contents",
    "color": "#9E6350"
  }'
  defer>
</script>
Select and copy the entire snippet. Your data-key and data-config values will be unique to your license.
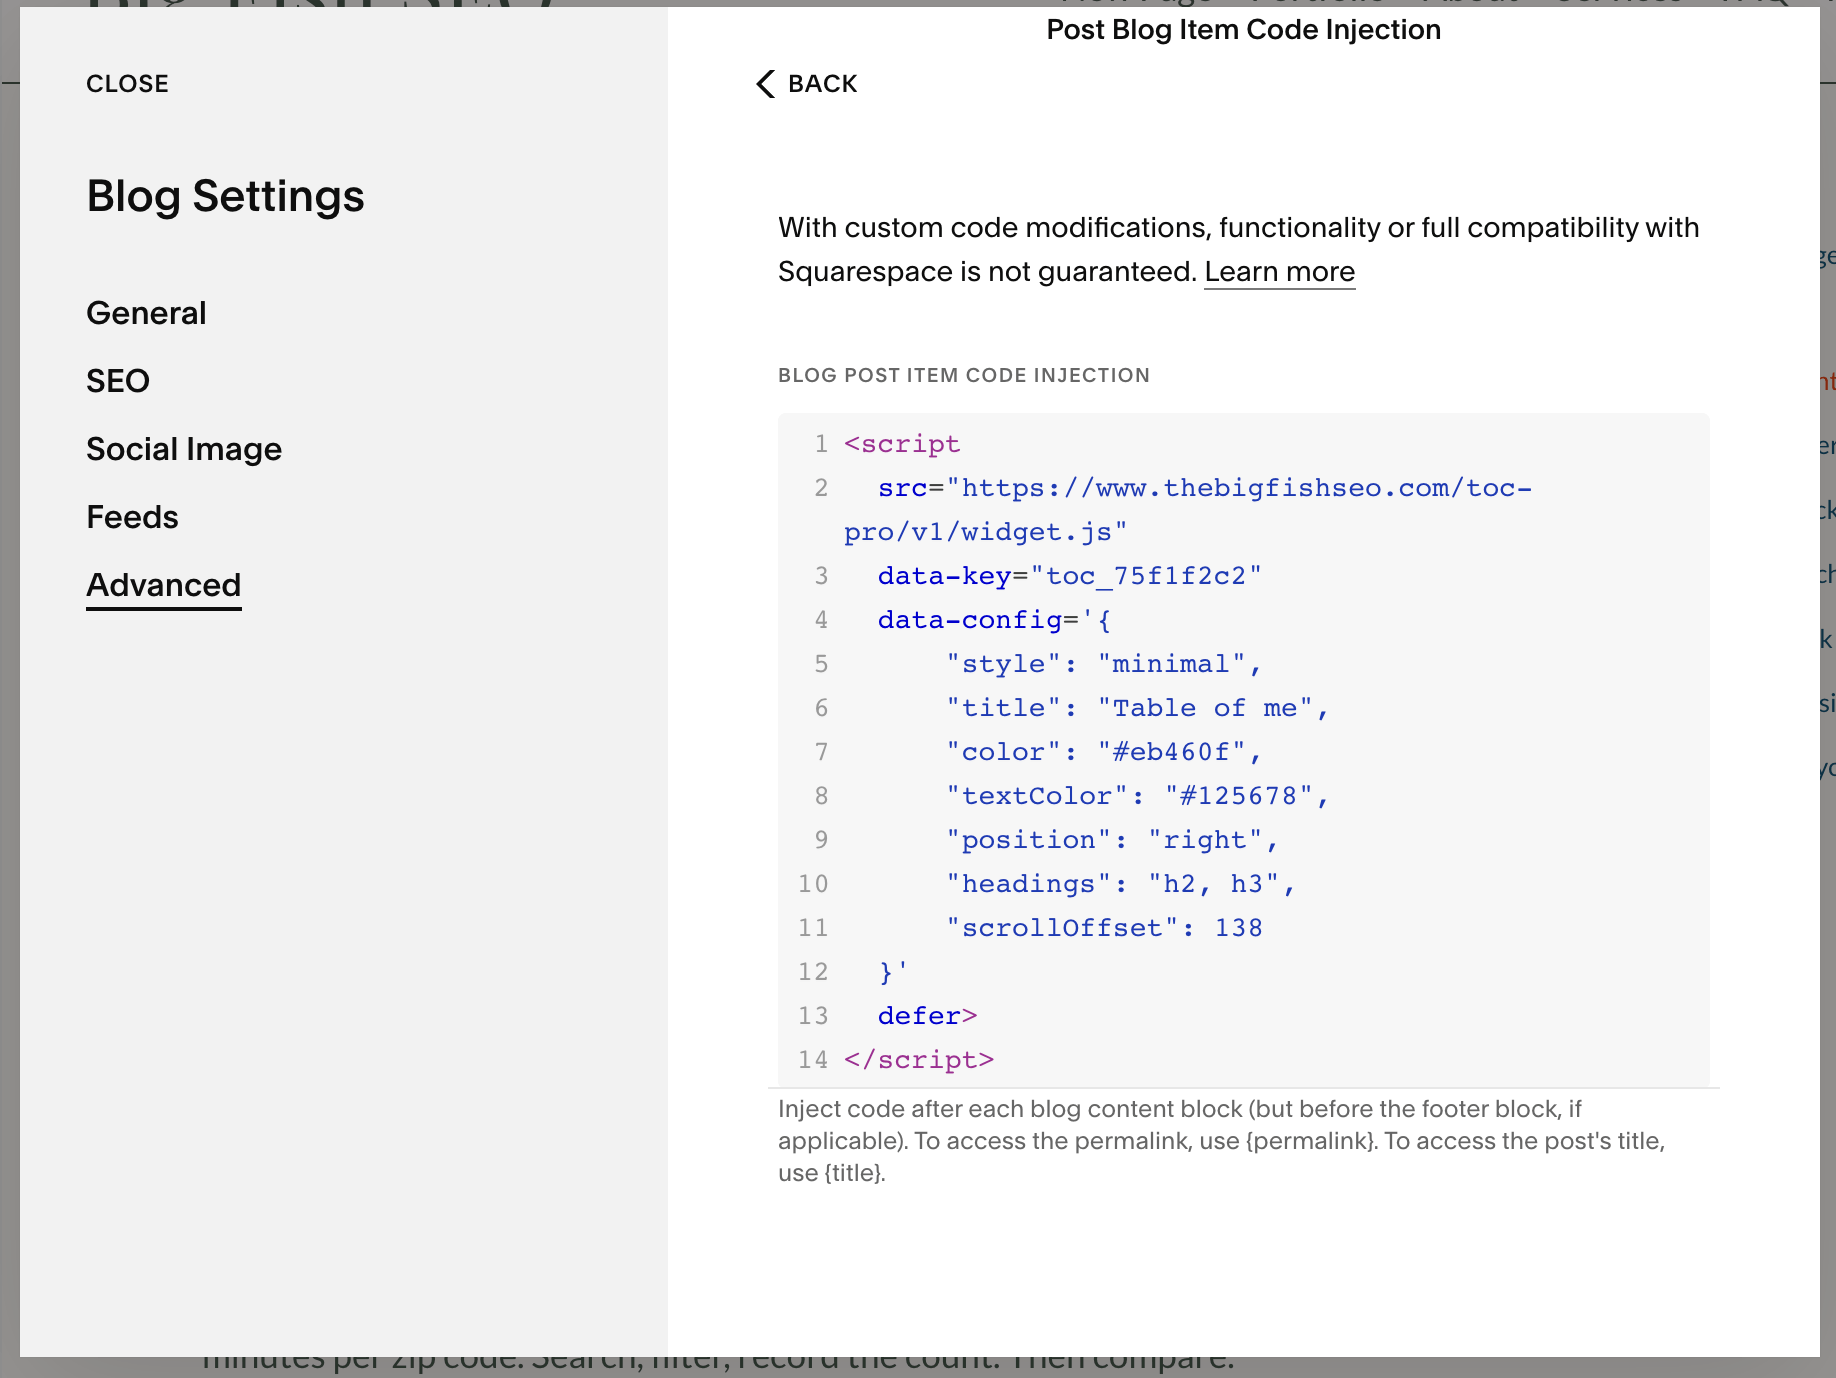
Open Code Injection in Squarespace
In the Squarespace editor, open the blog post where you want the TOC. Click the gear icon to open Post Settings, then scroll to Advanced and find Post Blog Item Code Injection.
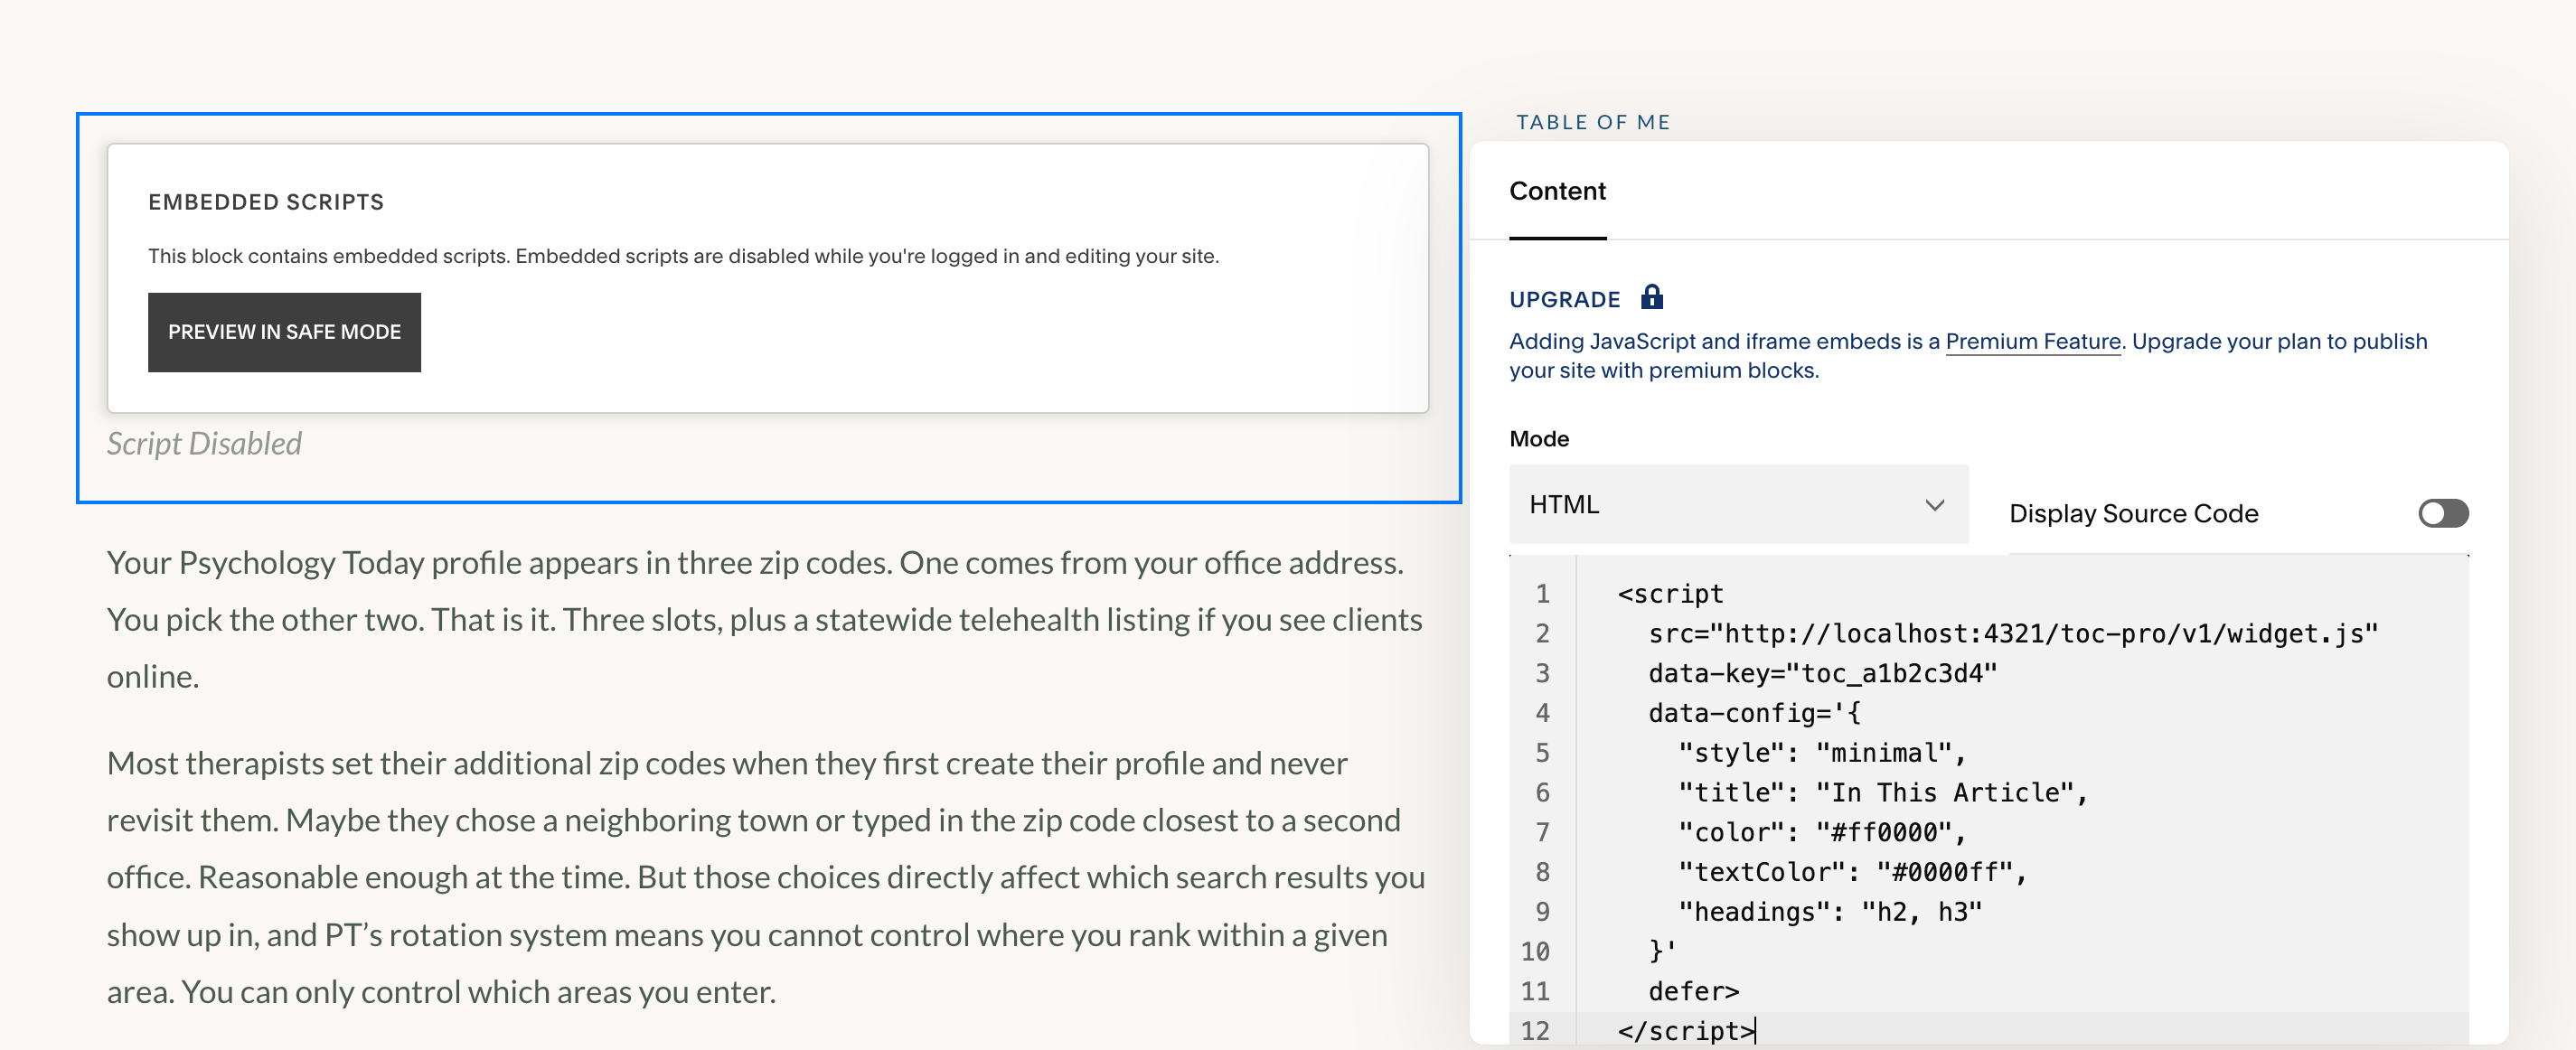
Paste the snippet into the Code Injection field in Post Settings → Advanced.
Paste the snippet and save
Paste the script snippet into the Code Injection field and click Save at the top of the Post Settings panel.
Paste the snippet exactly as it appears in your email — don't change any of the values.
Verify it's working
Open your blog post in a new tab (not the Squarespace editor preview — Code Injection doesn't run inside the editor). Check these three things:
- ✓ TOC appears — a sidebar (desktop) or collapsible menu (mobile) shows your post headings.
- ✓ Links work — clicking a heading in the TOC scrolls to that section.
- ✓ Scroll tracking — as you scroll, the active heading highlights in the TOC.
Adding the TOC to every blog post
The steps above add the TOC to a single post. If you want it on every blog post automatically, paste the snippet into your Blog Settings Code Injection instead:
- 1 In your Squarespace dashboard, go to Website → Pages → Blog.
- 2 Click the gear icon next to your Blog page to open Blog Settings.
- 3 Scroll to Advanced, then paste the snippet into Post Blog Item Code Injection.
- 4 Click Save. The TOC now appears on every post in that blog.
Blog-level injection applies the TOC to every blog post automatically.
Customizing after install
Your snippet's data-config attribute controls every setting — colors, heading levels, sidebar position, and mobile behavior. Edit the JSON values directly in your snippet to adjust. No need to repurchase.
Config reference
| Option | Default | Description |
|---|---|---|
style | card | card or minimal |
title | Table of Contents | Heading text above the TOC (max 50 characters) |
color | #c17f59 | Active highlight and hover color (hex) |
textColor | #6b7c6b | Link and title text color (hex) |
bgColor | #ffffff | Card background color (hex) |
position | right | right or left |
headings | h2 | Which headings to include, e.g. h2, h3 |
mobile | collapsed | collapsed, expanded, static, or hidden |
scrollOffset | 120 | Pixels from top when scrolling to a heading |
marginTop | 0 | Extra space above the TOC in pixels |
mobilePosition | top | top or bottom — where the mobile bar appears |
itemSpacing | 0.375rem | Vertical padding on each link (0.25rem–0.75rem) |
titleWeight | 600 | Font weight of the title (300–800) |
tocWidth | 35 | Sidebar width as percentage (20–50) |
indentSize | 1rem | Left indent for nested headings (0.5rem–2rem) |
dividerColor | auto | Header divider line color (hex, or omit for auto) |
fontFamily | system | CSS font-family for the TOC |
mobileBorder | false | Use a subtle bottom border instead of a shadow on the mobile bar |
Example with all options
data-config='{
  "style": "minimal",
  "title": "In This Post",
  "color": "#9E6350",
  "textColor": "#6b7c6b",
  "bgColor": "#ffffff",
  "position": "left",
  "headings": "h2, h3",
  "mobile": "collapsed",
  "mobilePosition": "top",
  "scrollOffset": 160,
  "marginTop": 20,
  "itemSpacing": "0.375rem",
  "titleWeight": "600",
  "tocWidth": 35,
  "indentSize": "1rem",
  "dividerColor": "#6b7c6b",
  "fontFamily": "Georgia, serif",
  "mobileBorder": true
}'
Every option is optional — remove any line you don't need and the default kicks in.
data-config must use double quotes (the outer attribute uses single quotes). Colors accept 3-digit (#fff) or 6-digit (#ffffff) hex codes. Numbers like scrollOffset don't need quotes. No trailing comma after the last value — JSON will break silently.
"scrollOffset" in your data-config. The default is 120. If the TOC overlaps your site navigation, try 160 or higher. This also controls where headings land when you click a TOC link.
Troubleshooting
TOC ignores my config (wrong colors, wrong title, defaults everywhere)
Your data-config JSON is probably invalid. The most common cause is a trailing comma after the last value:
// Wrong — trailing comma breaks JSON
data-config='{
  "color": "#3e5f4e",
  "title": "In This Article",  ← remove this comma
}'
JSON is stricter than JavaScript — no trailing commas, no single quotes around values, no comments. If the config can't be parsed, the TOC falls back to all defaults silently.
To check: open your browser's console (F12 → Console) and look for a SyntaxError. Or paste your config into jsonlint.com to validate it.
TOC doesn't appear at all
Make sure you pasted the complete <script> tag including the closing </script>. The post also needs at least one H2 heading for the TOC to render.
Double-check that you clicked Save at the top of the Post Settings panel after pasting.
View the live page, not the Squarespace editor preview. Code Injection doesn't run inside the editor.
Clicking a link scrolls to the wrong spot
Your site header is covering the heading. Increase "scrollOffset" in your data-config (default is 120). Try 160 or higher — this controls both the sticky position of the TOC and where headings land when clicked.
TOC shows on desktop but not on mobile
Check the "mobile" value in your data-config. If it's set to "hidden", the TOC won't appear on mobile. Change it to "collapsed" or "expanded".
Colors don't match my brand
Change the "color" value in your data-config to any hex color code (e.g., "#3B82F6"). You can also customize "textColor" and "bgColor" the same way.
Still stuck?
We're happy to help with installation, color matching, or any custom tweaks for your site.
Book a Free Consultation